Home > Programs
Program of Study Proposal Help
Many of the fields on the program of study proposal form are self-explanatory and do not need a detailed description in this tutorial. In addition, there is help content provided by clicking the question mark ![]() next to the field. Therefore, this tutorial provides help for some of the more complex fields on the form.
next to the field. Therefore, this tutorial provides help for some of the more complex fields on the form.
Creating a New Program of Study
To start a new program, click on + New Program of Study button in the upper-right hand corner.
![]()
Proposing Changes to an Existing Program of Study
1. In the search bar, type in text to find the program you would like to propose changes to. Click on the proposal in search results to open the form.

2. On the proposal form, click on Propose Changes in right hand navigation pane. A new proposal for the program will be created and ready for you to work on.
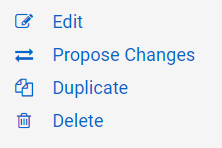
Duplicating a Proposal
If you would like to use the content of an existing program in order to create a new program, you can click on Duplicate to create a proposal with the information from that program. After it is created, you can change the information as needed.
Saving and Leaving a Proposal
There is no Save button. Proposals will automatically save as you work on the proposal. When you are ready to exit editing, click on Leave Edit Mode.
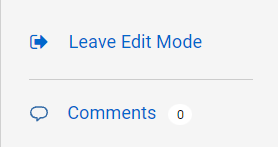
Table of Contents
You can navigate to specific sections of the proposal using the Table of Contents section located in the right column. Simply click on the section you would like to jump to.

Program of Study Proposal Information
Co-proposer
Enter a co-proposer if desired. MCC employees will appear as you type, then select the name you want. You can type by first or last name.

School and Department
School or Department names will appear as you type in the field, then select the appropriate name.

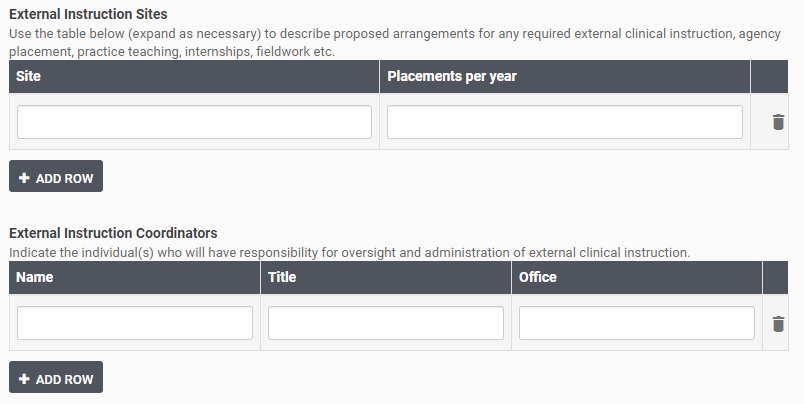
External Instruction
In the External Instruction tables, the first row is available for entering information. To add a row, use the + Add Row button. To delete a row, use the trash can in the right column.
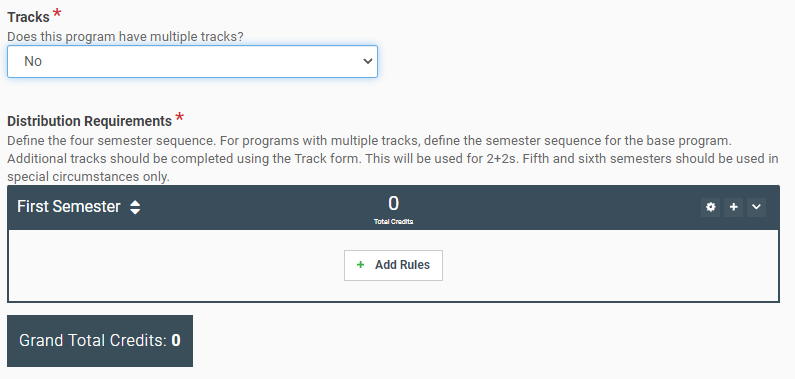
Tracks
It is required to select Yes or No in the Tracks dropdown. This will determine how the Distribution Requirements tables are built.
If No is selected, the First Semester table will appear. Click + Add Rules to begin.
The rules function can be confusing when you are new to the tool. If you are having difficulty, reach out to the Curriculum Office for assistance.
1. Select an option from the dropdown (Admitted to, Complete, etc).
2. A second field will appear with more options and choose the appropriate one.
3. A field to enter courses will appear. Begin typing the course prefix and a list of courses will be available to select. When you select it, the course will be added to the list below the field. Enter more courses to build the list. To delete a course, click the trash can.
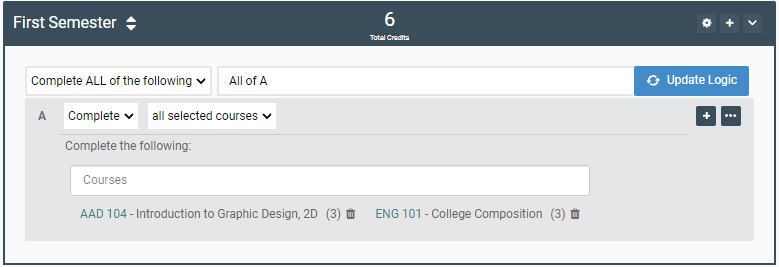
4. To add another row, click the + icon in the right corner.
Program Learning Outcomes
Click the + Add New button to add the first outcome. To add additional outcomes, click the "+" in the row of the outcomes. To delete an outcome, click the trash can.
